

Sustainable Prototyping
2023-2024
As a senior capstone, I designed a system to collect and recycle excess filament to be printed again to help mitigate waste impacts from 3D printing.
The goal of the project was for students to be able to use the 3D-Printer and prototype in a guilt-free, sustainable way. I hope to inspire others to adopt similar sustainable practices in fabrication and raise awareness about the importance of reducing waste in this innovative field.


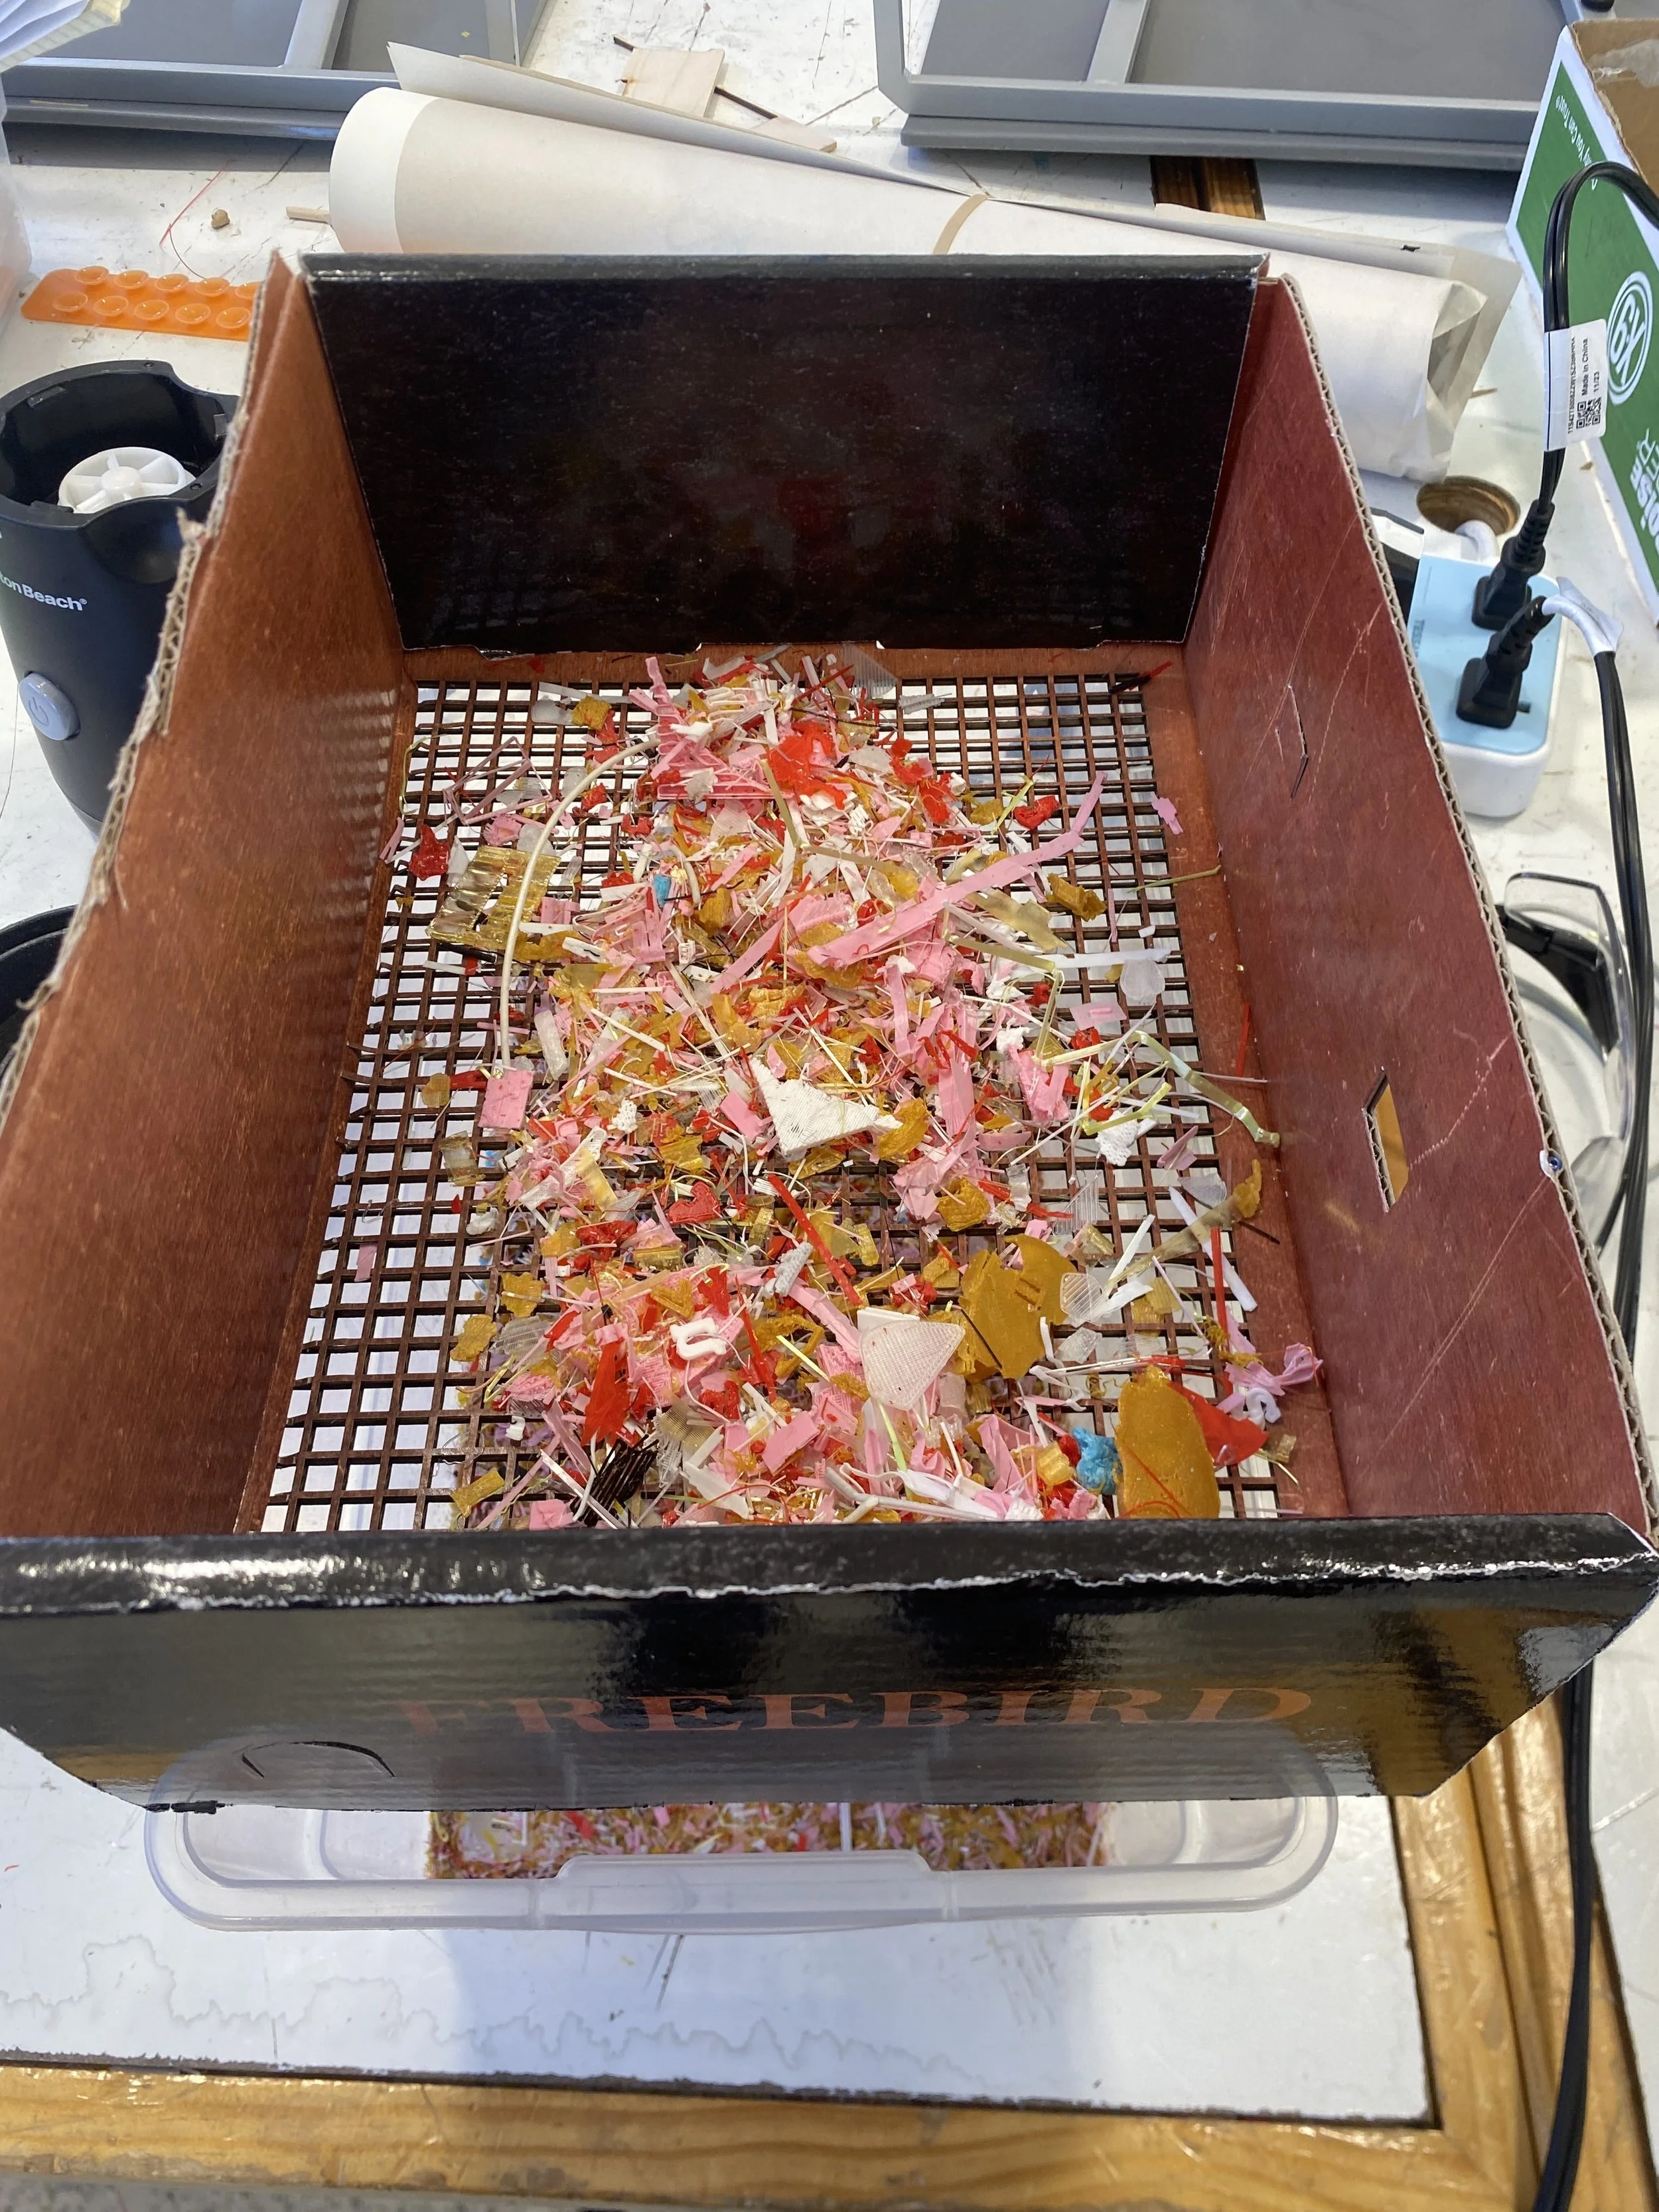
I collected failed 3D-printed projects for months to shred them for this project. I used an old leaky blender for sustainmability and sorted the smaller bits using laser-cut sifters.
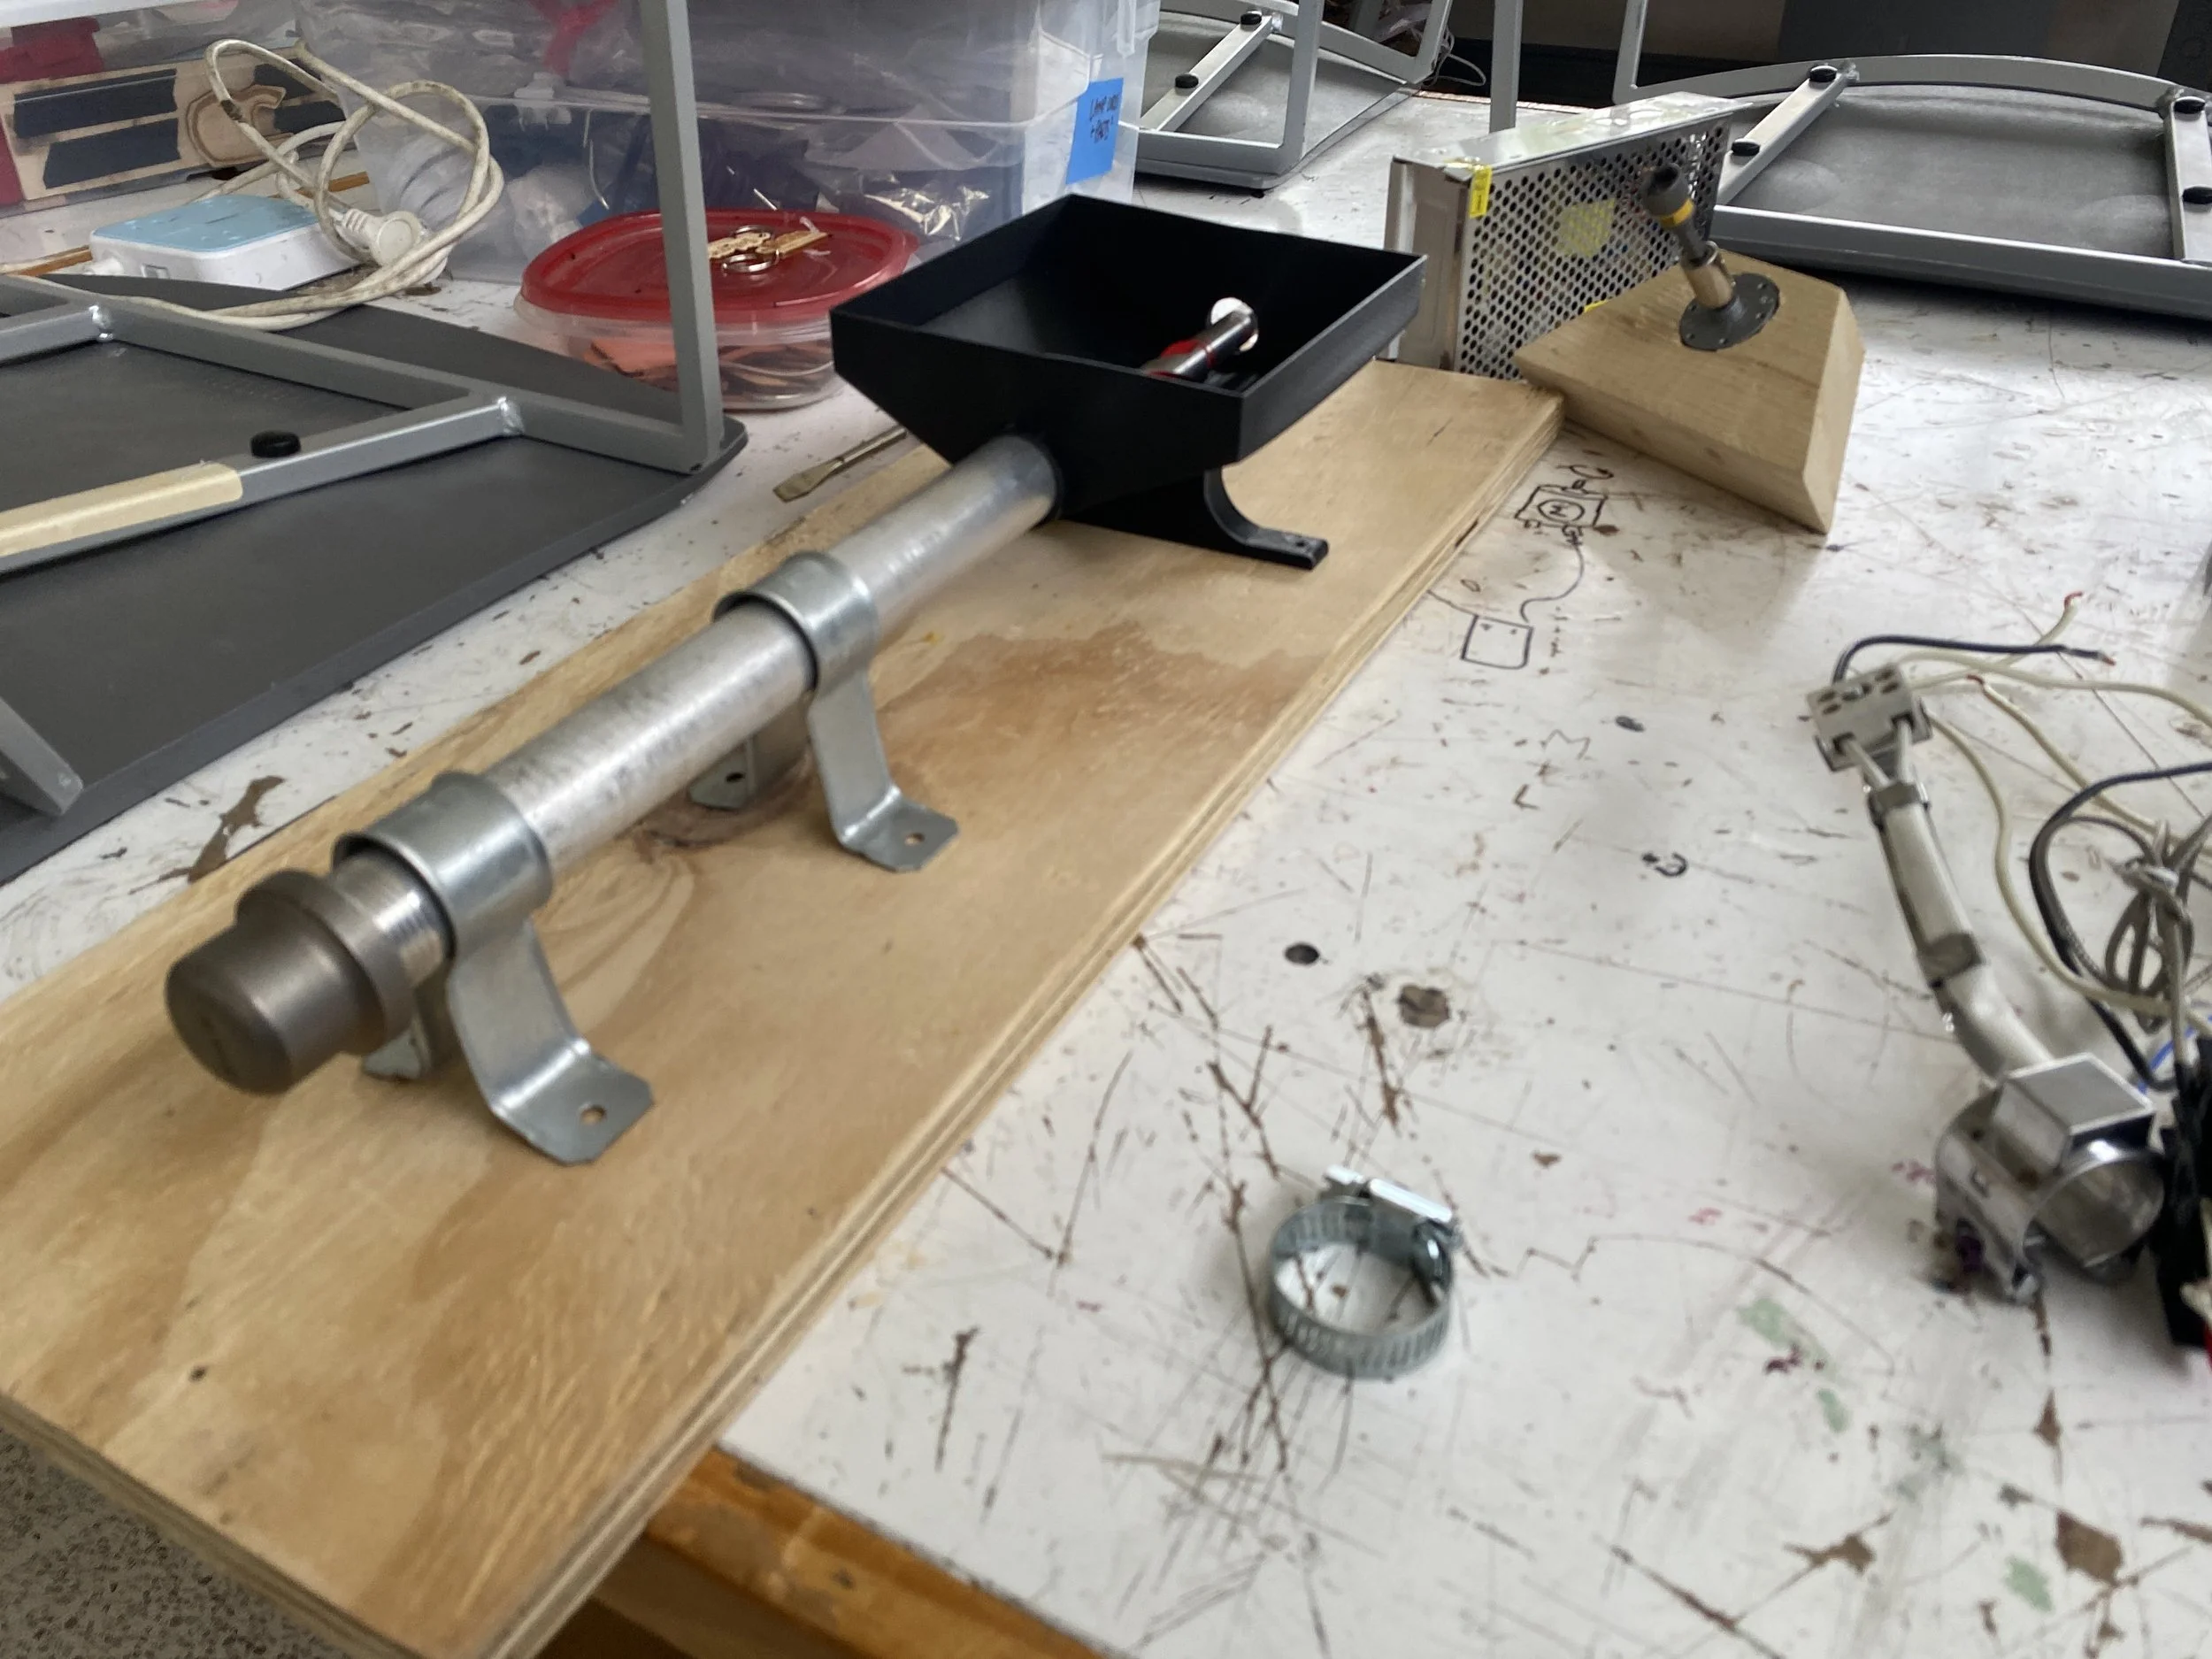
I used a high-torque DC motor, a power supply to convert AC to DC power, and a speed limit to control the rpm of the motor. This motor was mounted to a wooden board using a custom 3D-printed part and that wooden board was then drilled into the base plate. The motor rotates a long auger bit, passing through a funnel and into the heated barrel.
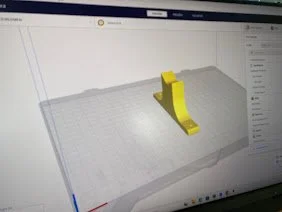
The funnel was designed in fusion360 and custom-made for this. Additionally, there’s a 3D-printed bearing so that the bit can spin with reduced friction on the funnel’s side hole.

Execution
Concept sketching
The concept of faze was paralleled with research into preexisting filament extruders. The setup was comprised of three parts.
Shredding involves crushing old 3D-printed filaments into small bits. I'll use a blender to crush them up, and a paper shredder if the pieces are still too large.
Extrusion is the process of getting the crushed bits moving into the heated end. I’ll use a drill bit that will spin in place, moving the pieces from the funnel down the heated barrell.
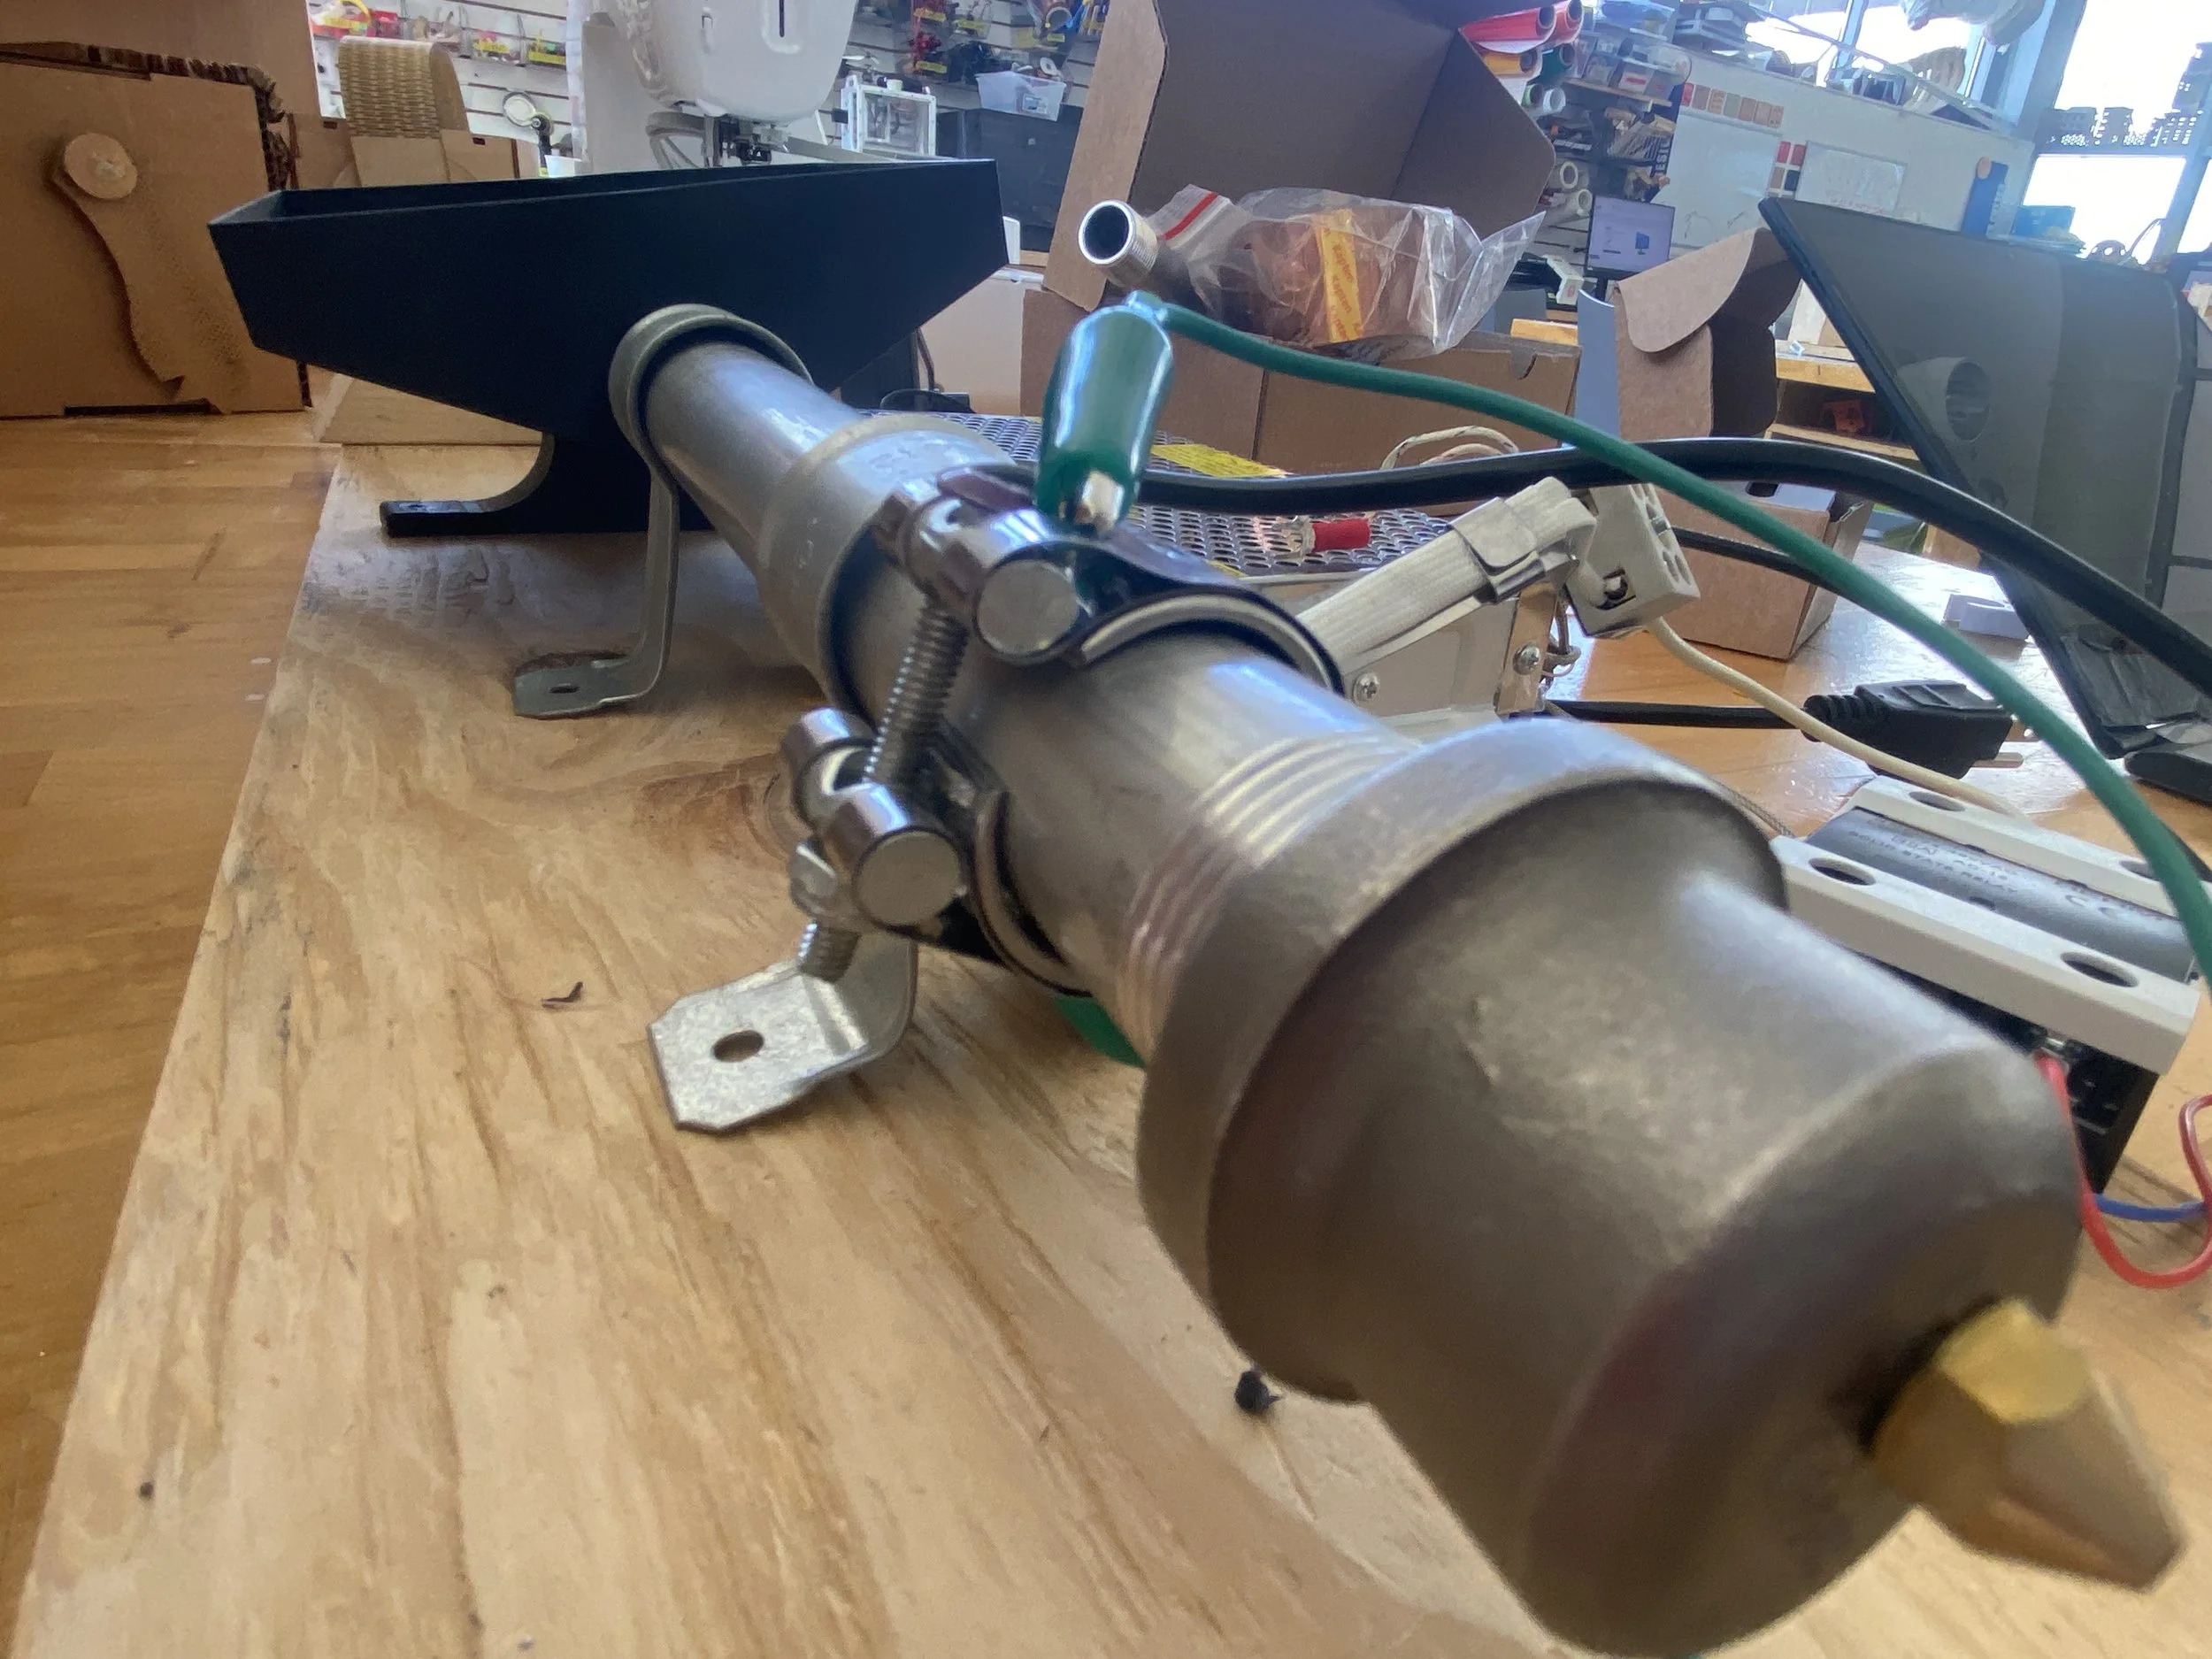
Heating is where a stainless steel pipe is heated to around 220 °C, allowing all the pieces to melt and be sent through a 2mm nozzle. Heating bands are strapped around the barrel to melt to plastics, and a 3D printer nozzle is fitted to the end of the barrel cap.
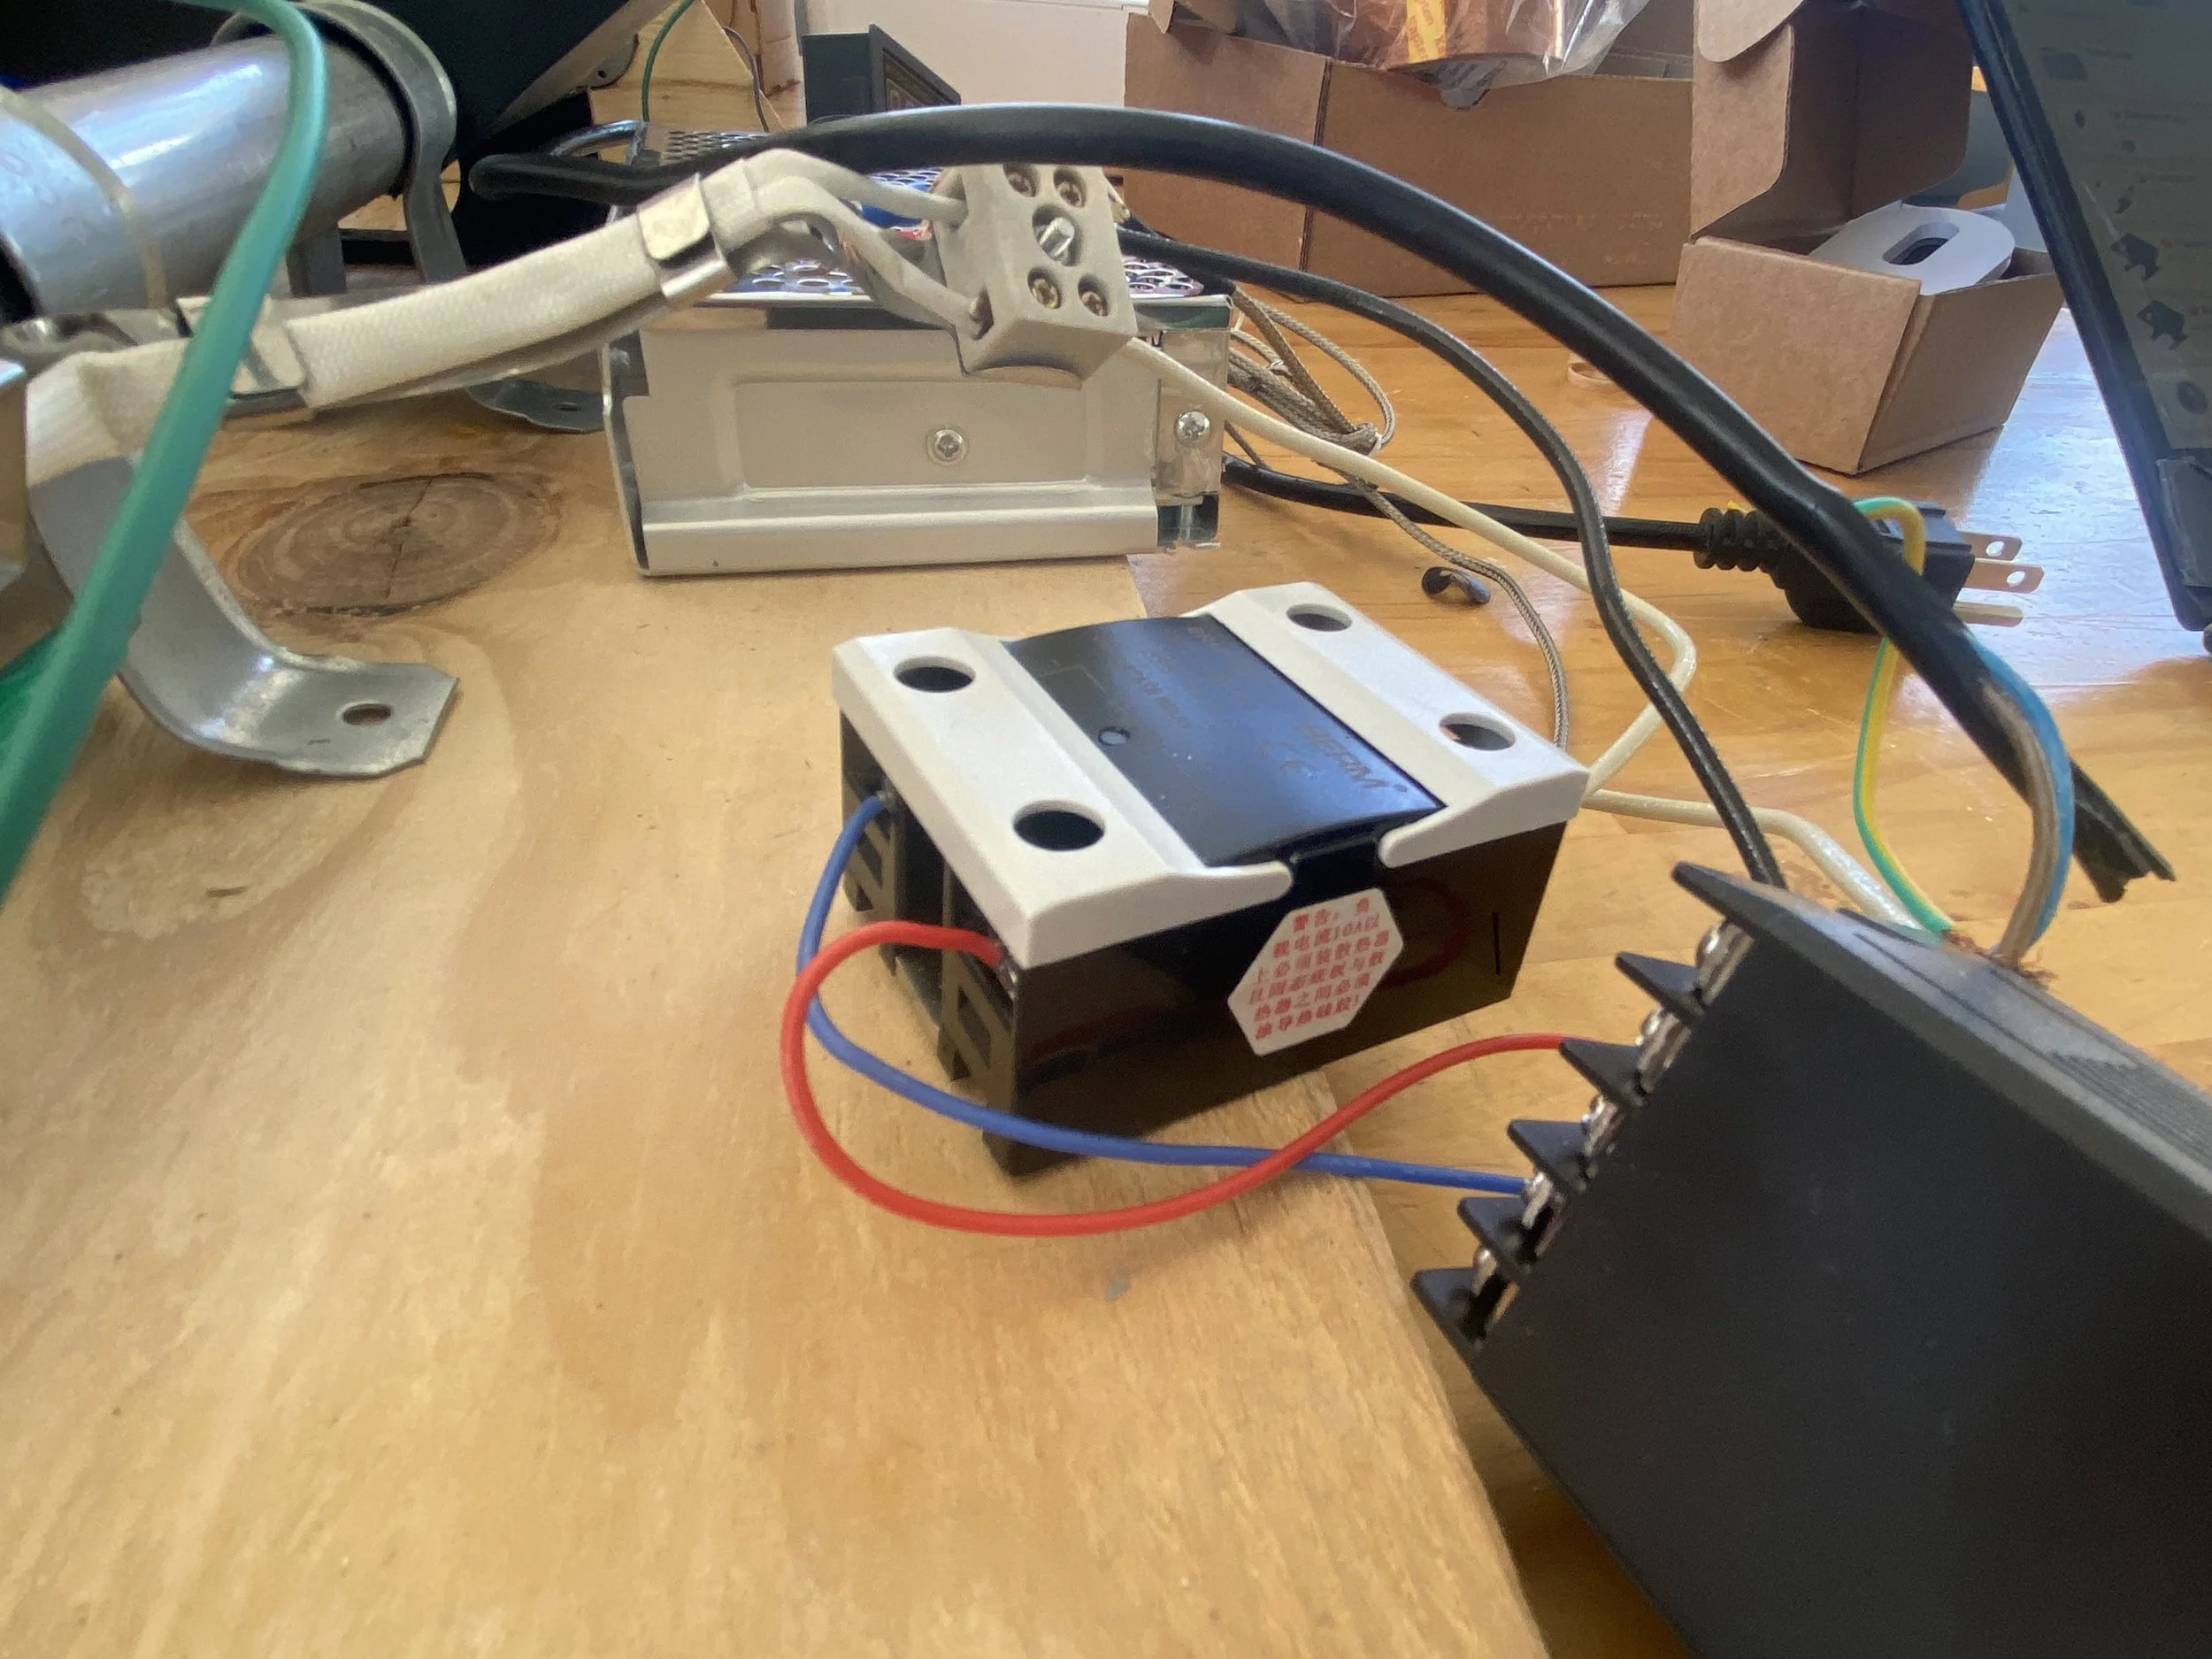


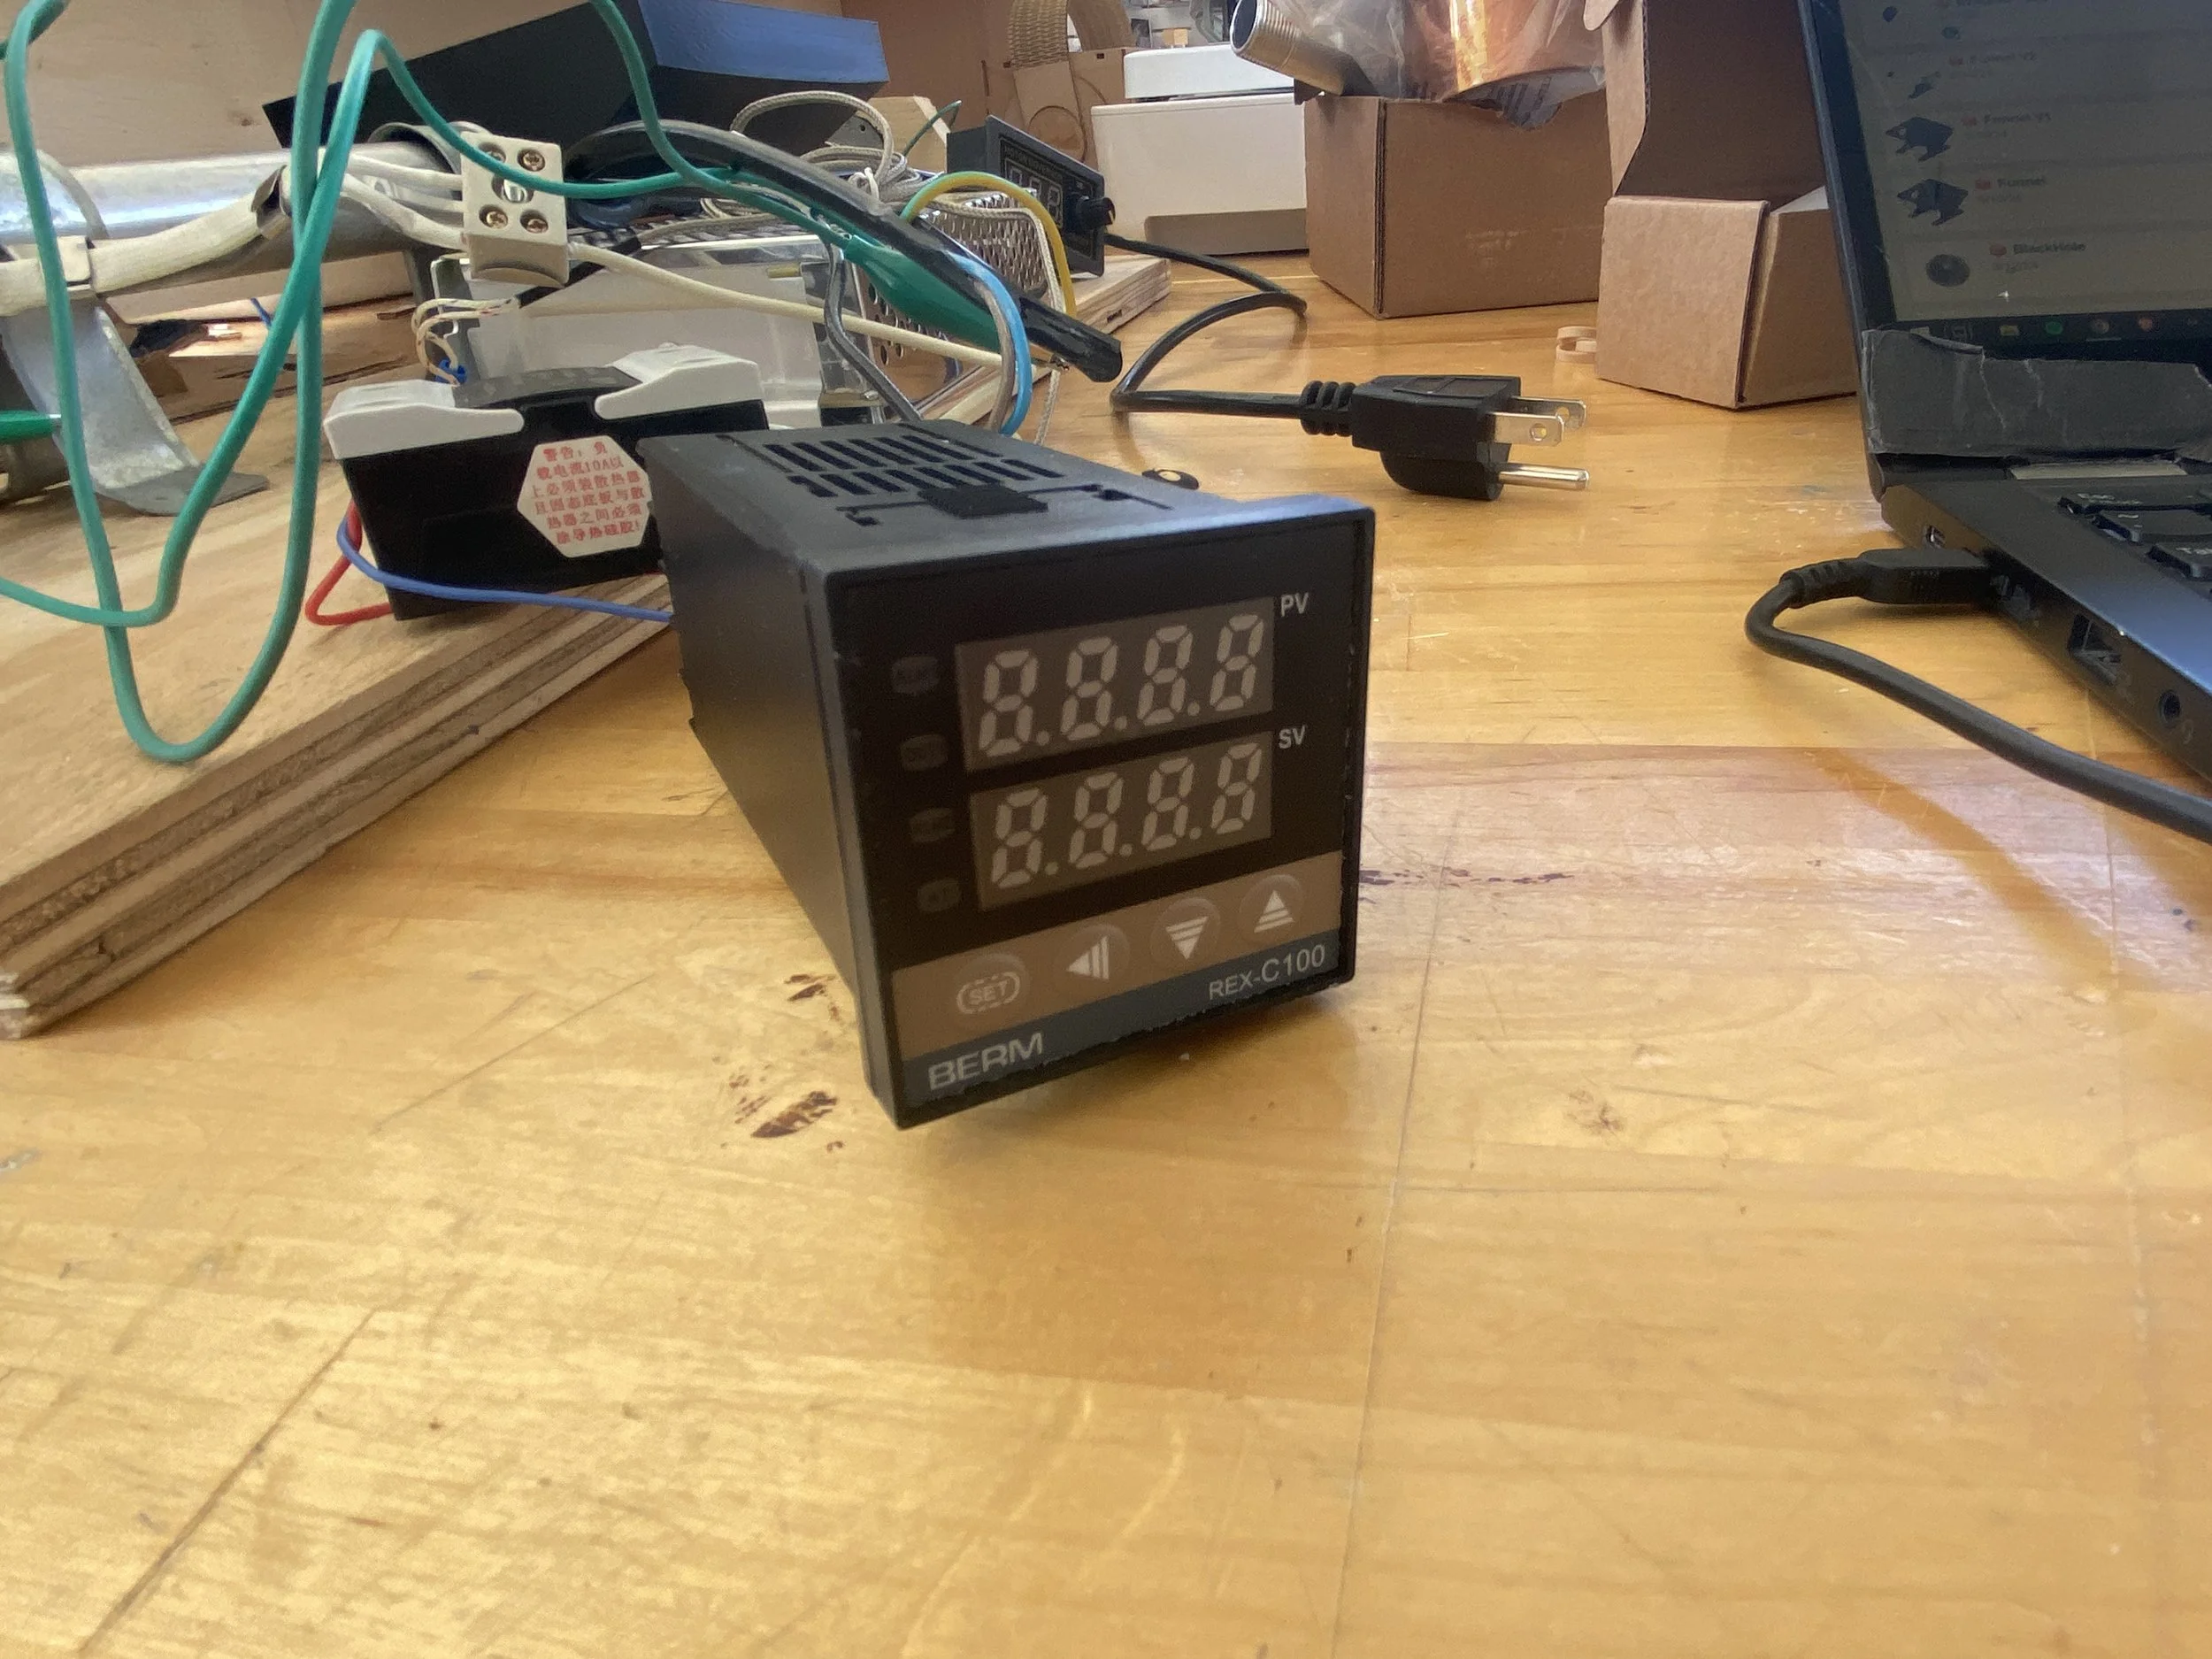
The material is moved into the barrel which has two ceramic band heaters that will heat the material to its melting point of 200C. The tube is made of aluminum for improved heat conductivity. The heating is comprised of four parts and powered by the power supply: The heating band, thermocouple, temperature control, and solid-state relay (SSR). This is wired to temperature control and thermocouple, which reads the temperature in the barrel. The head is comprised of a head that screws into the tube and a hot end that was taken from a 3D printer. Using a thread bit, I was able to screw the hot end into the head.
After that two fans cool the filament which is pulled by a custom 3D printed pully.
Conclusions
The design ended up not succeeding in practice, but that’s not to say there wasn’t any prototyping.
Iteration 1
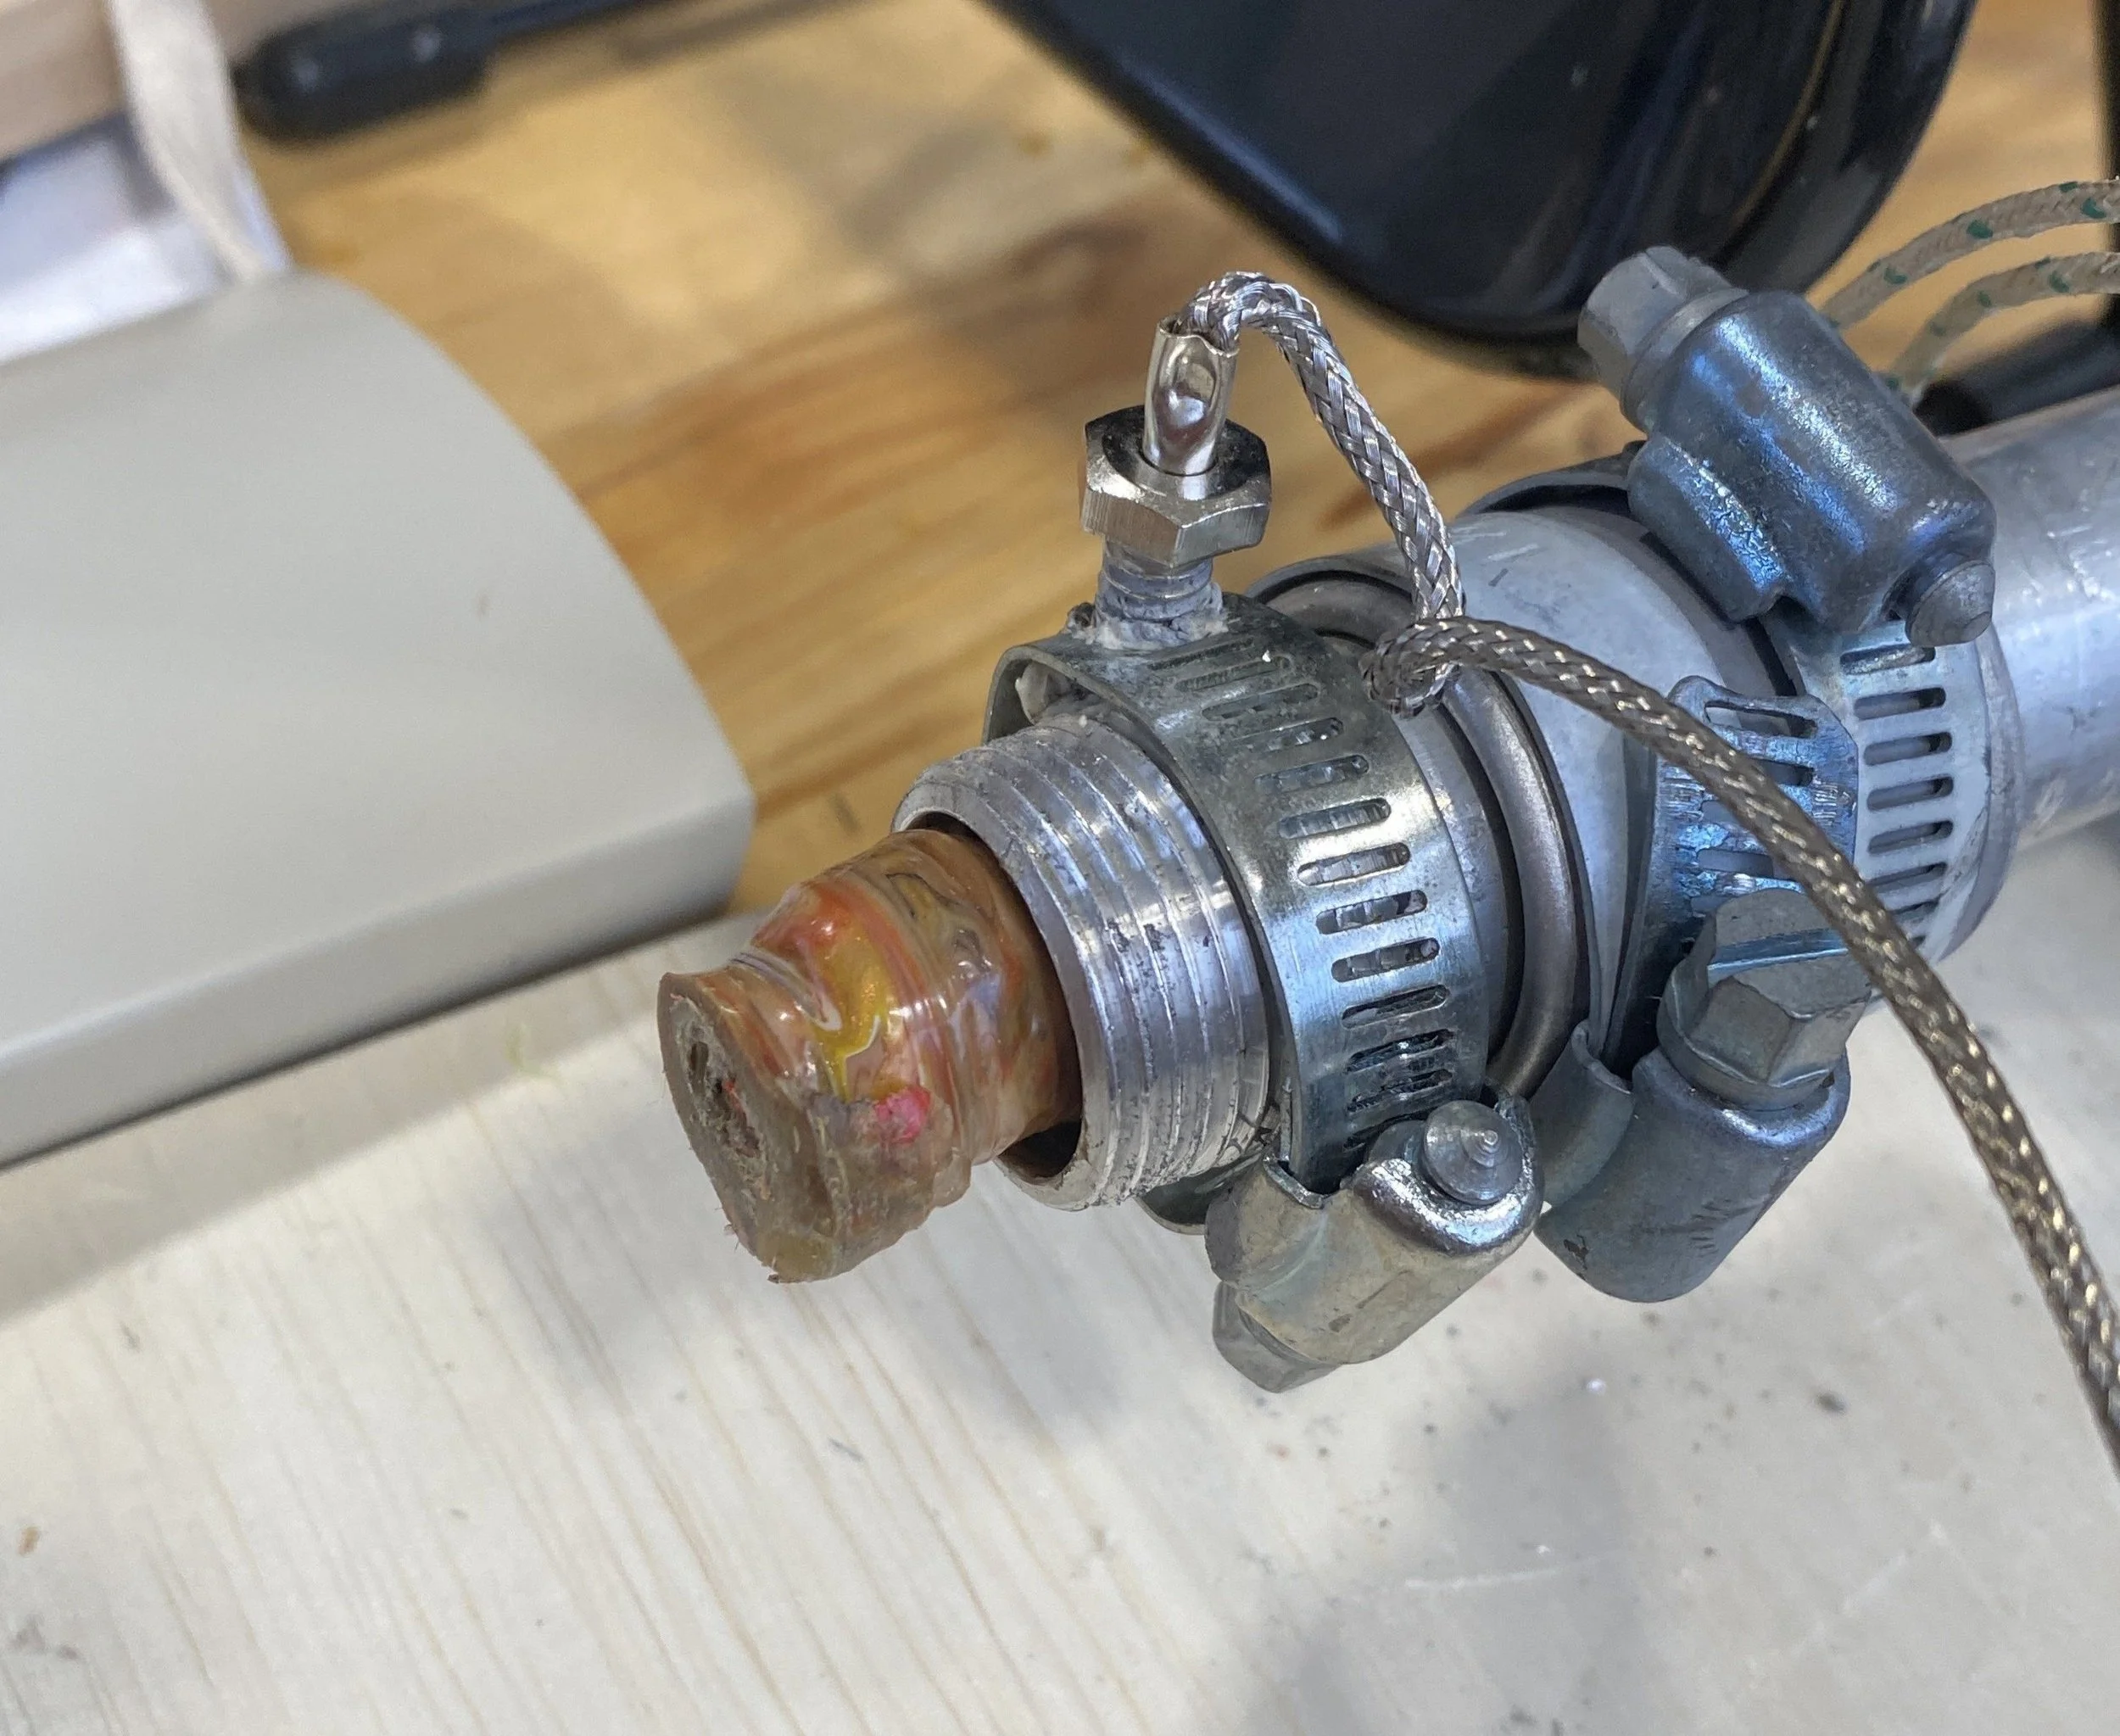
The first issue was the cap of the barrel. The barrel was made of aluminum but the first head was made of stainless steel which is much worse at conducting heat. This resulted in a lot of plastic stuck at the end of the nozzle.
Iteration 2
I added an aluminum cap and improved the heating bands, putting one on the head itself, so that the interior of the barrel had a constant temperature. The primary issue in this one was that the auger bit was too thin and there was a 1mm gap between the bit and the barrel interior wall.
Iteration 3
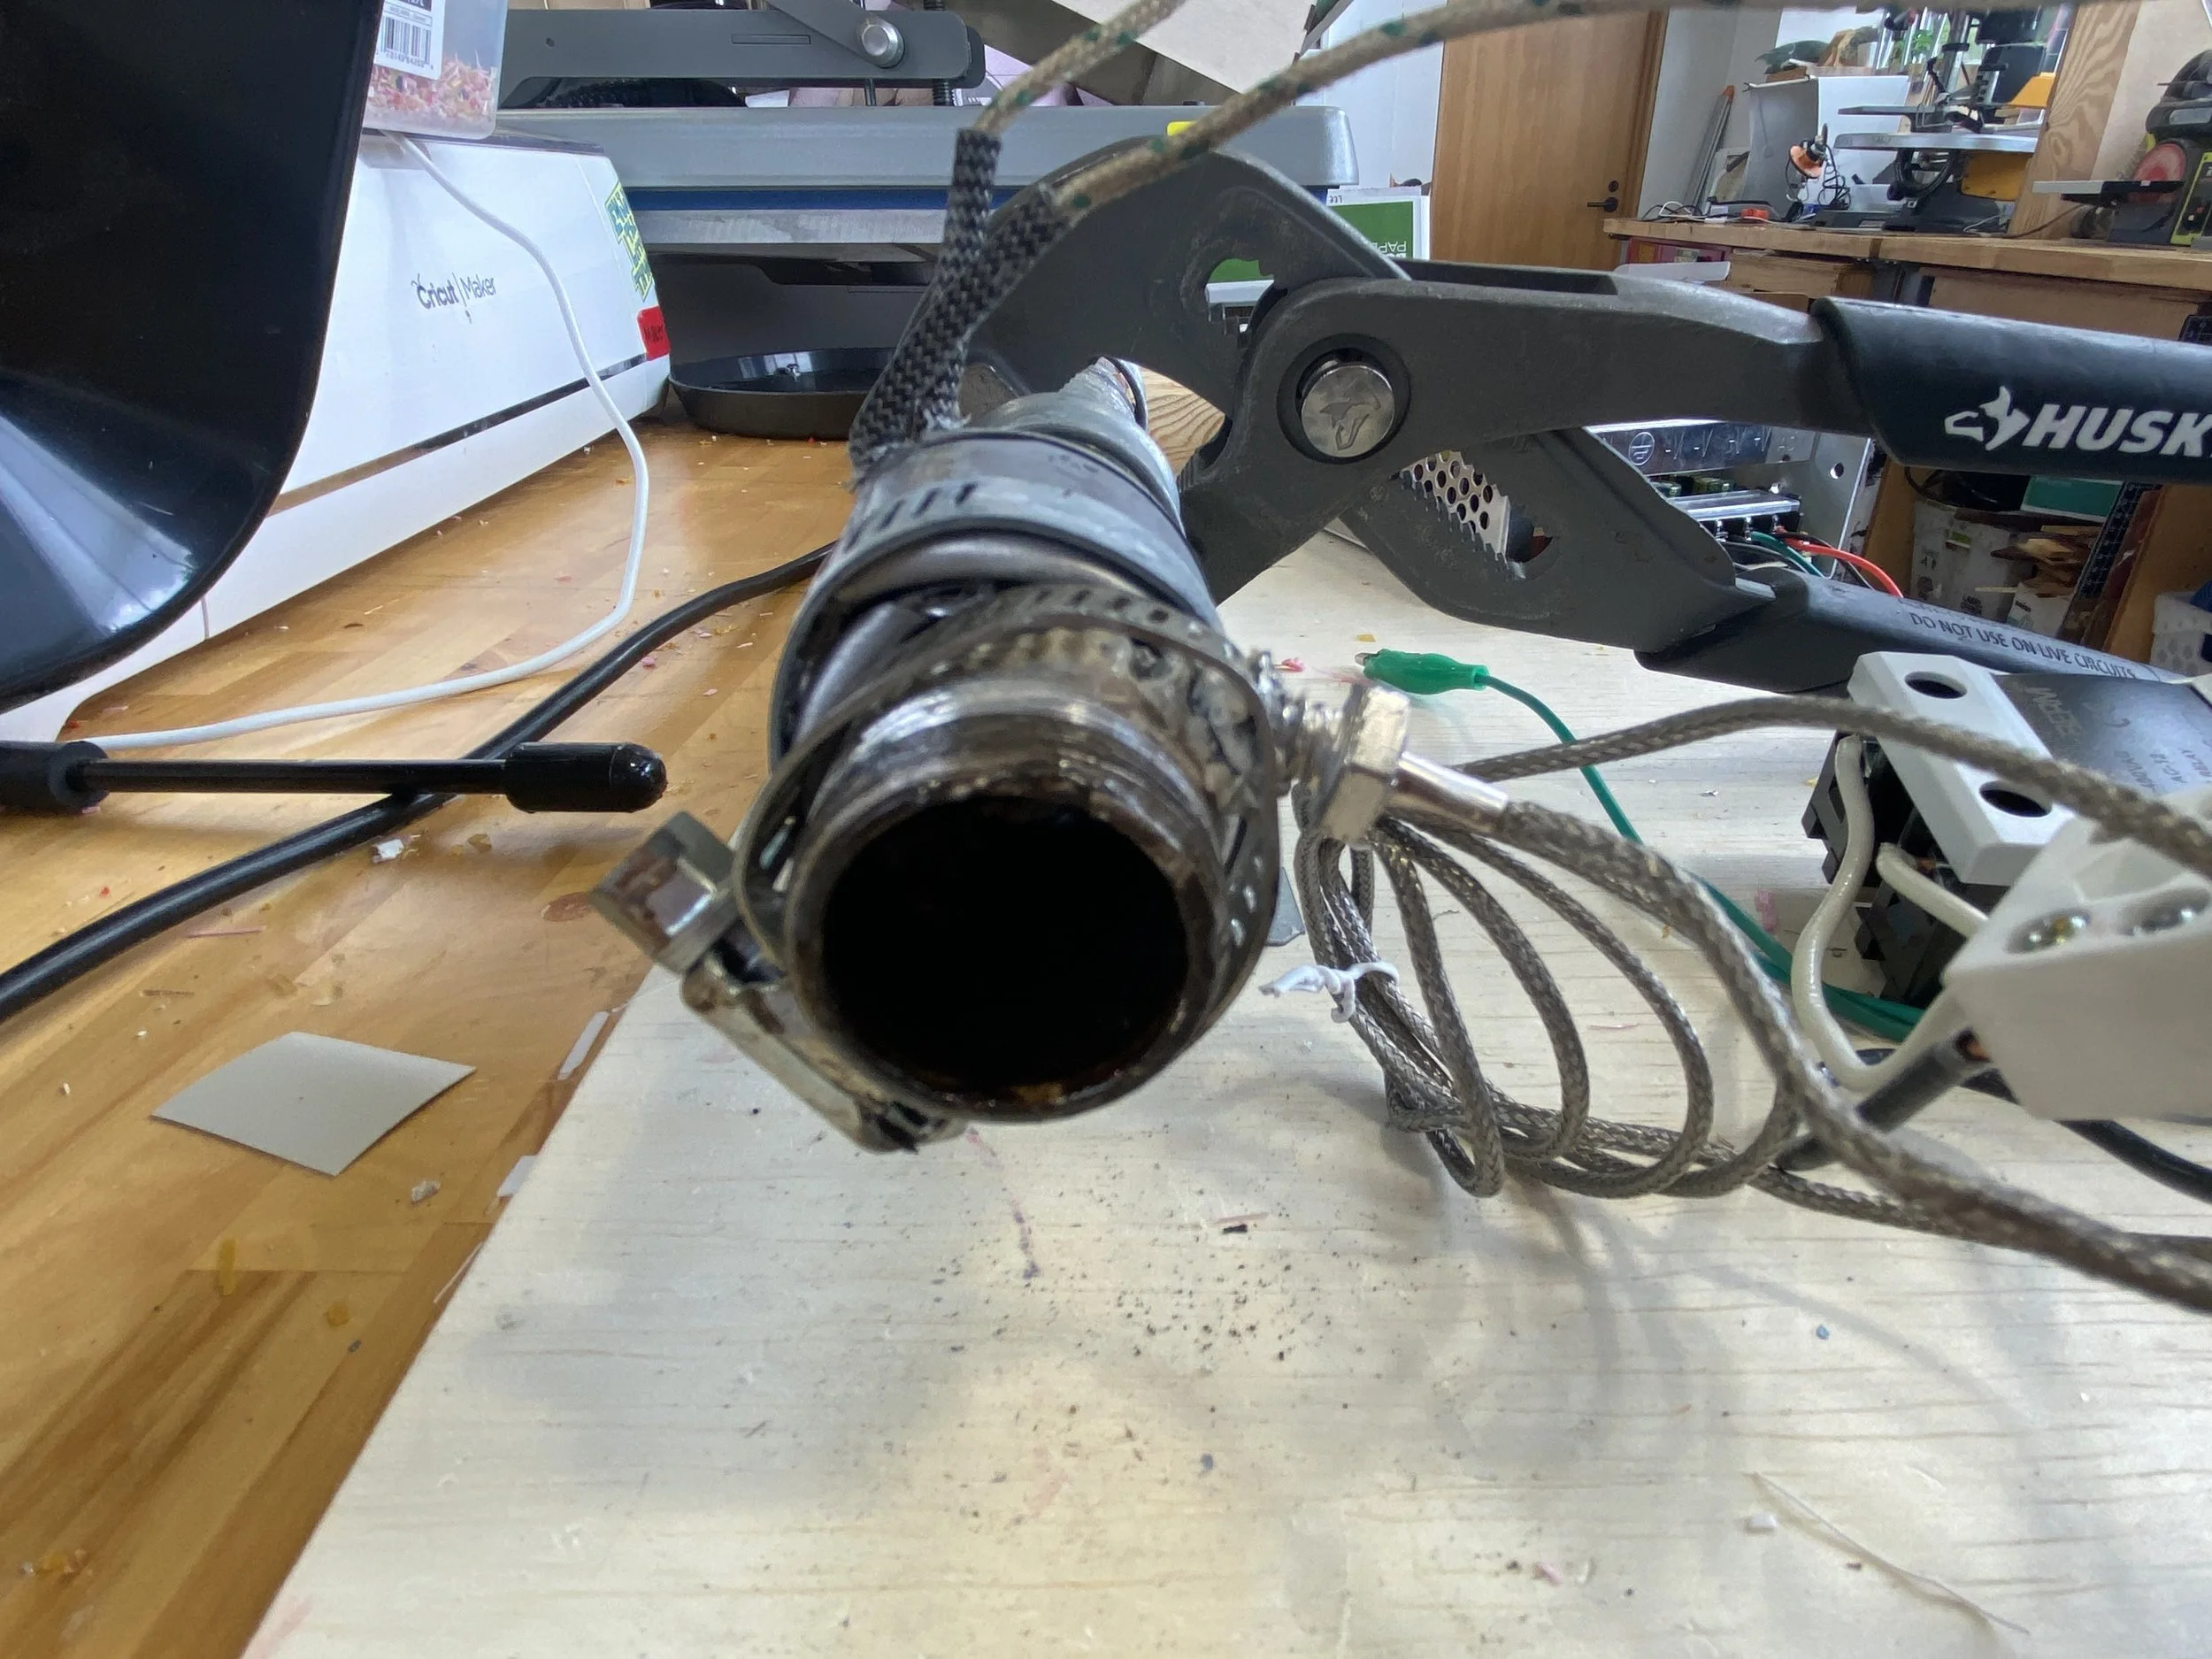
I bought a thicker bit that fit with extremely low tolerance and this moved the material much better. The critical error now was that the thermocouple became loose. As it became loose, the temperature readings were lower, which caused the heating bands to increase power. This positive feedback loop resulted in temperatures of 400C, burning the plastics and compromising the auger bit, barrel heating bands, barrel, and hot-end.
Lessons learned
I was always aware this project was ambitious, especially given I've worked mostly in the design field, so I'm not surprised that the plastic extruder failed. That's not to say I didn't learn anything. I'm very happy with what I've learned. I gained knowledge of 3D design, by making the pully. I have much more experience with electrical components and ensuring safe practices. I learned about PID loops for heating and all the types of hardware necessary to achieve precise temperatures. All this practical work has been extremely valuable.
I went into this project with a very set plan of how this plastic extruder would function. I had a spreadsheet with the parts, measurements of tolerances, and plans of how I would 3D model all the necessary parts. My biggest takeaway is that no matter how much planning I do, there's always going to be some factor that demands a change to the design. I'm glad I did all that preparation, and it's crucial to retroactively identify and address issues, but I simply didn't have enough time to work through all the problems I encountered. This project could end here, however, I know exactly how to make this work, and have much more time to work on it this summer. I also have much more experience than when I first started. All this potential keeps me interested in continuing the work I've done.


PID Temperature Controller Thermocouple
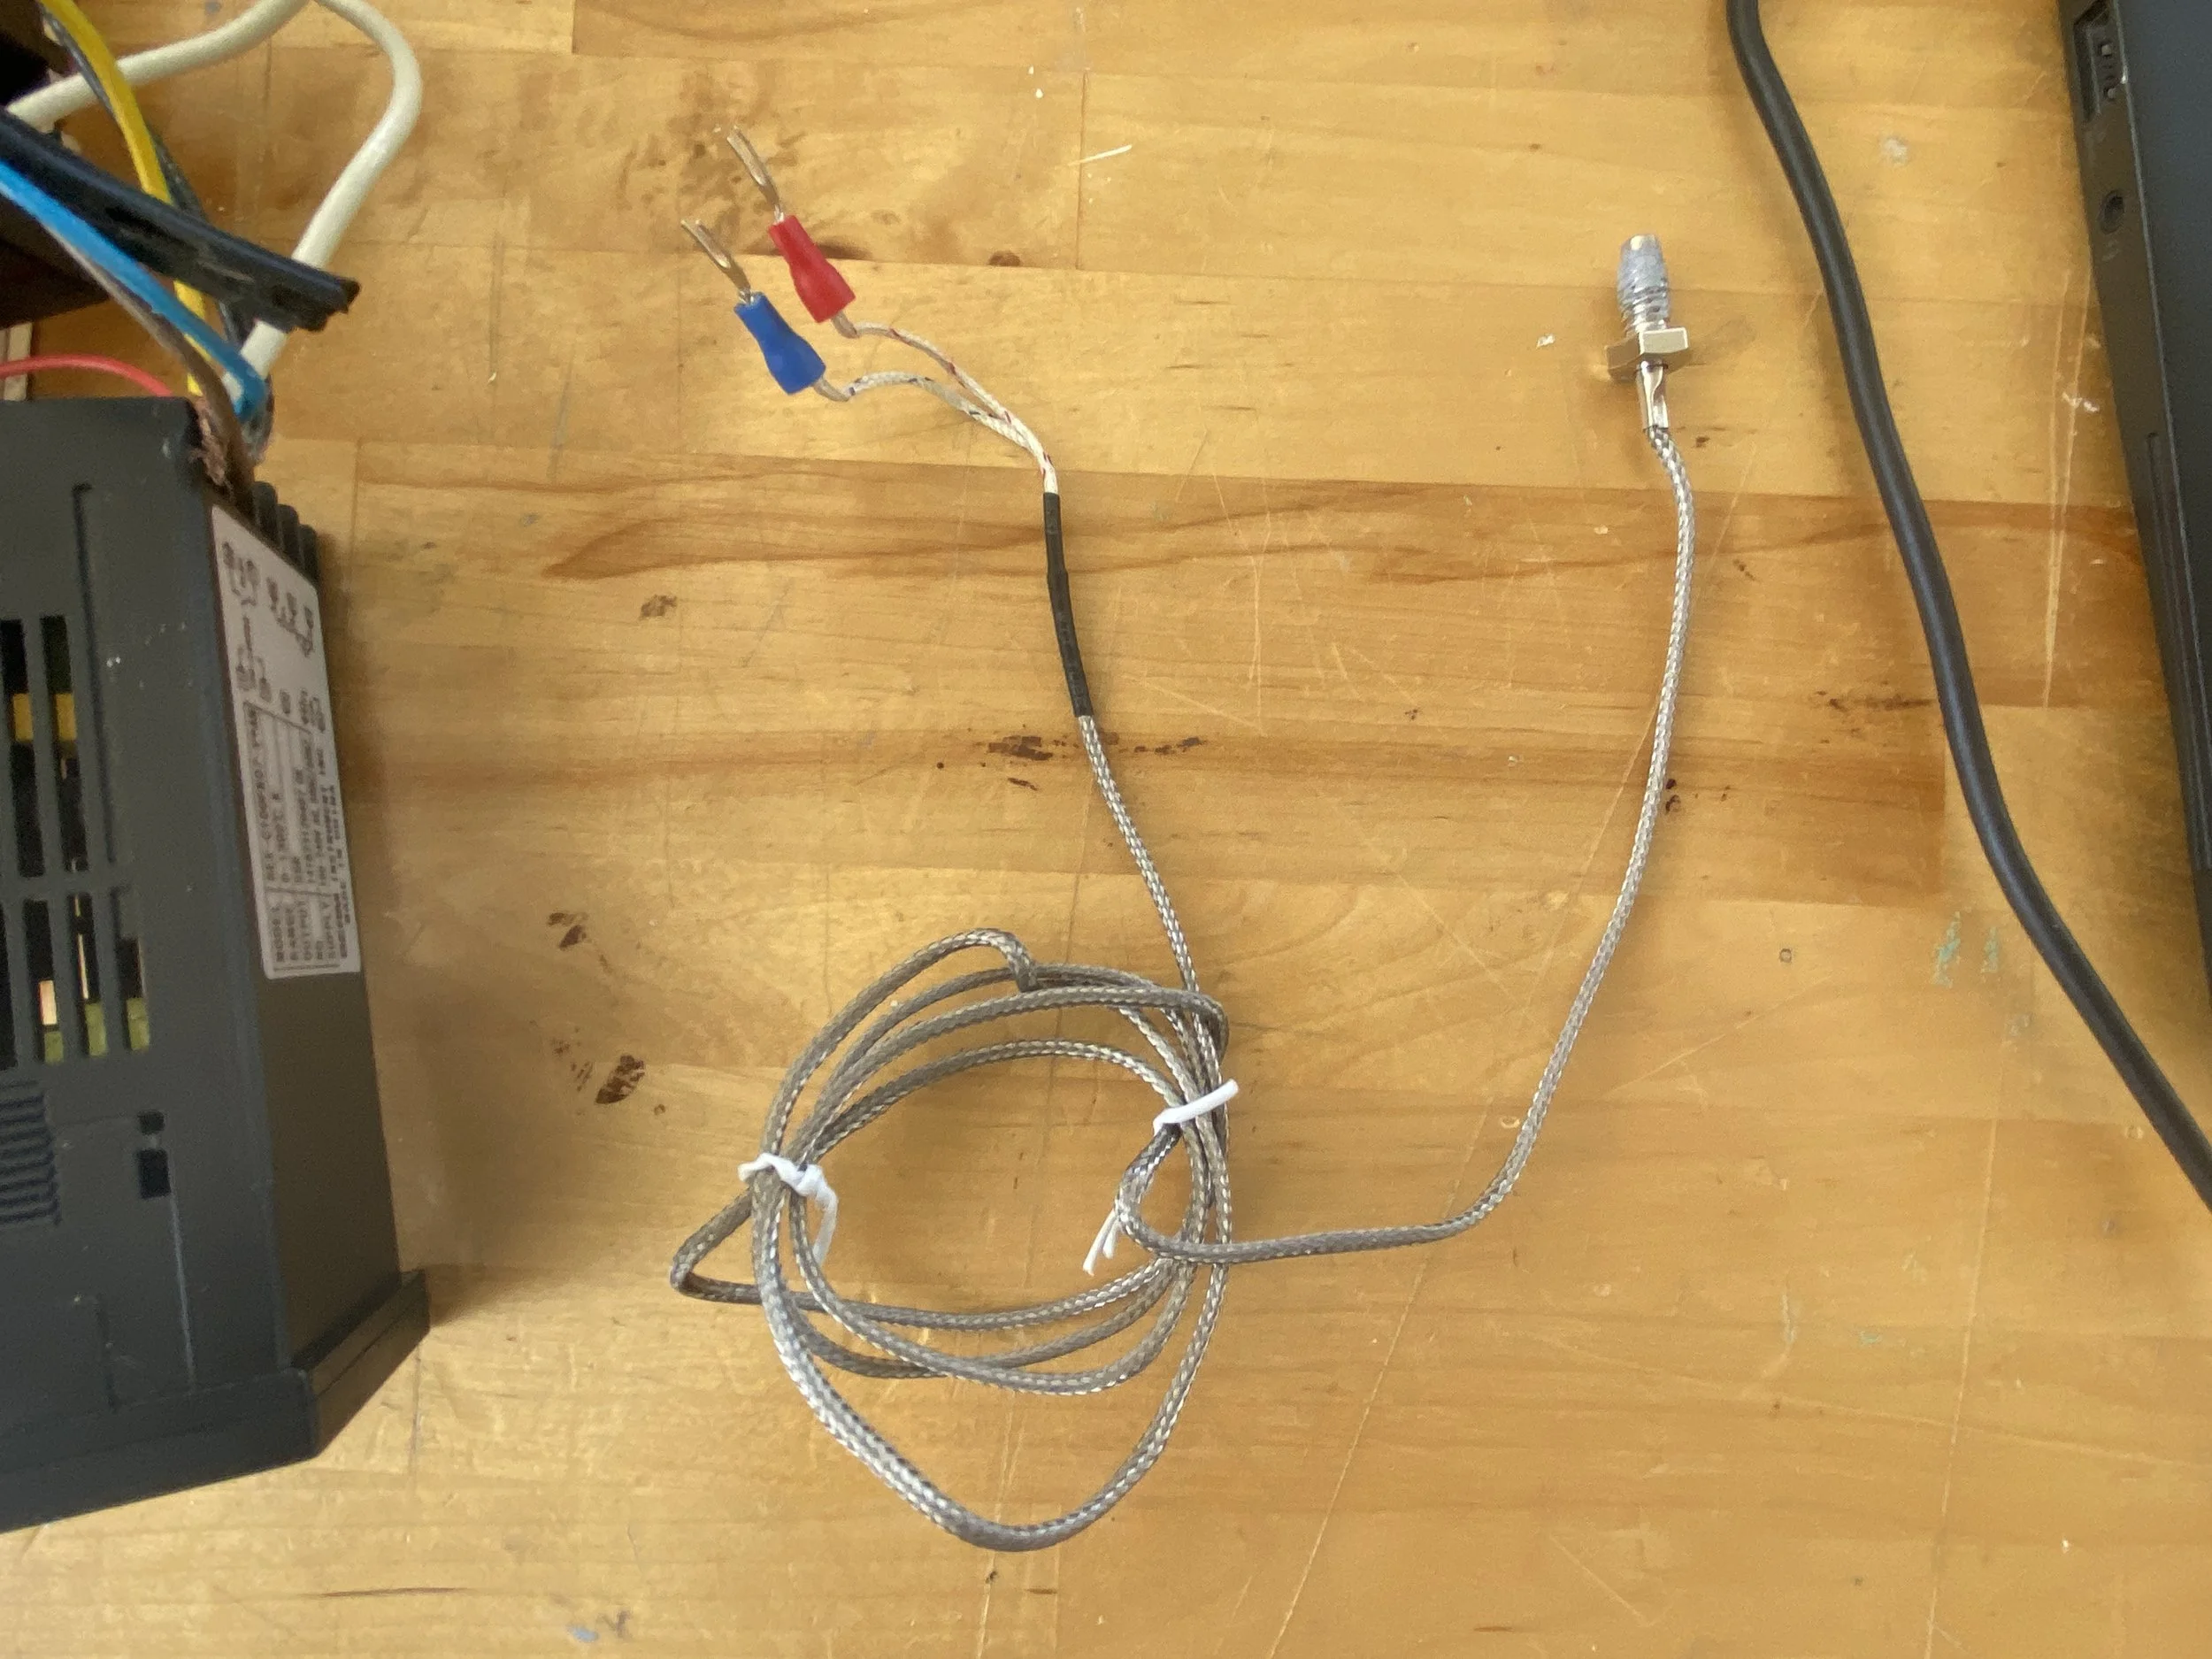
Solid State Relay Heating Band (attached with green clip)